A few weeks ago I got sent details of the HILLARYS BLINDS COUNTRY CRAFTS competition. It sounded exactly right for me so having looked at the fabric choices sent off for a piece. I had chosen WILD POPPIES. When the fabric arrived I was very impressed with the quality and very pleased that it would be perfect for the design I had been thinking of.
So now with the closing date very close I am two thirds there and happy with the way my project is progressing.
30th March and my project is finished here is a link so you can see it. http://dreamtimemakes.blogspot.co.uk/2014/03/vintage-kitten-hillarys-blinds-country.html
Thursday, 27 March 2014

Saturday, 22 March 2014
WELCOME TO MY NIGHTMARE Tattoo inspired purse number one

Back to creating purses out of cigar boxes, this time round they have become a little darker - inspired by some of the awesome tattoos that are being displayed by so many people. It amazes me how such a plain box can change into something really unique, it is almost as if they take on their own destiny.
So welcome to my nightmare as I show you my first 'by ink, inspired' creation.

There were hints of a blacker side with the 'WHAT'S YOUR POISON' purse, I made some time ago, that was covered with various vintage poison labels. This has been one of my favourite bags and I use it often.

Each flower has been handcrafted whether it has been made from polymer clay and then painted before being varnished ......

..... or if the flowers have been made from fabric, these circles (cut using my FUSE) made really effective flowers when completed.

Using pages from an Anne Rice vampire novel I decopatched the box before adding a lovely dark floral designed paper and painting the box.
The skull heart and some text was added front & back and that was also painted.
Flowers were added to the front and given beaded centres.

Heart and key metal charms have been attached using strings of black beads.
The handle is covered with a toning chiffon ribbon and fabric flowers are then fixed to its base, with clay flowers climbing up one side.

The whole has been varnished inside and out making it very hardwearing. Although it is a fairly small bag it is big enough for everything needed for a night out.

Sorry fan and vintage evening gloves not included
https://www.etsy.com/uk/listing/183566328/unique-tattoo-inspired-wooden-purse?ref=ss_listing


Beaded centres to the handcrafted flowers
Sunday, 9 February 2014
FISKARS FUSE - how much can it do


http://www.hobbycraft.co.uk/
The one that caught my eye was the FUSE, but as I had found the last system I possessed limiting and it was expensive I decided I wasn't that bothered. The next week I looked again and saw that it was compatible with other makes of dies and the adaptor plates were included in the offer price.

http://www2.fiskars.com/Crafting/Products/Endless-Possibilities


These are my first attempts.


There is also storage there is also storage on one side of the machine - just big enough for my current collection.
Sunday, 19 January 2014
Getting Ahead - a step foreward to avoid future panic
Every year as Christmas gets closer there begins the yearly panic as I think about the cards. There have times when making them has been more of a chore than a pleasure (to begin with) and I have felt it would be much easier to buy the cards.
This year as papers, peel offs, card and glitter were still on the table and needed sorting I thought that making cards would be the best option. An easy way to use up excess supplies, a lack of pressure would make card making fun again, and as I like to do a lot of baking at Christmas having the cards made in advance would give me more time to do so.
I also wanted to be firm with myself and get rid of any papers I had had for too long or didn't like very much.
The end result is a box with more cards than I need, more space in the cupboards and a happy neighbour who has been given the excess for the school she works at.
This year as papers, peel offs, card and glitter were still on the table and needed sorting I thought that making cards would be the best option. An easy way to use up excess supplies, a lack of pressure would make card making fun again, and as I like to do a lot of baking at Christmas having the cards made in advance would give me more time to do so.
I also wanted to be firm with myself and get rid of any papers I had had for too long or didn't like very much.
The end result is a box with more cards than I need, more space in the cupboards and a happy neighbour who has been given the excess for the school she works at.
Wednesday, 18 December 2013
A SPECIAL CARD FOR A SPECIAL WEDDING part 2 -

on either side so I could get the effect I wanted.
Once upon a time

And my story begins, using pages from the DCWV pad and some printed pictures of WW1 maps (slightly burnt)
In a far away land

Laid waste by war

There was a vast forest
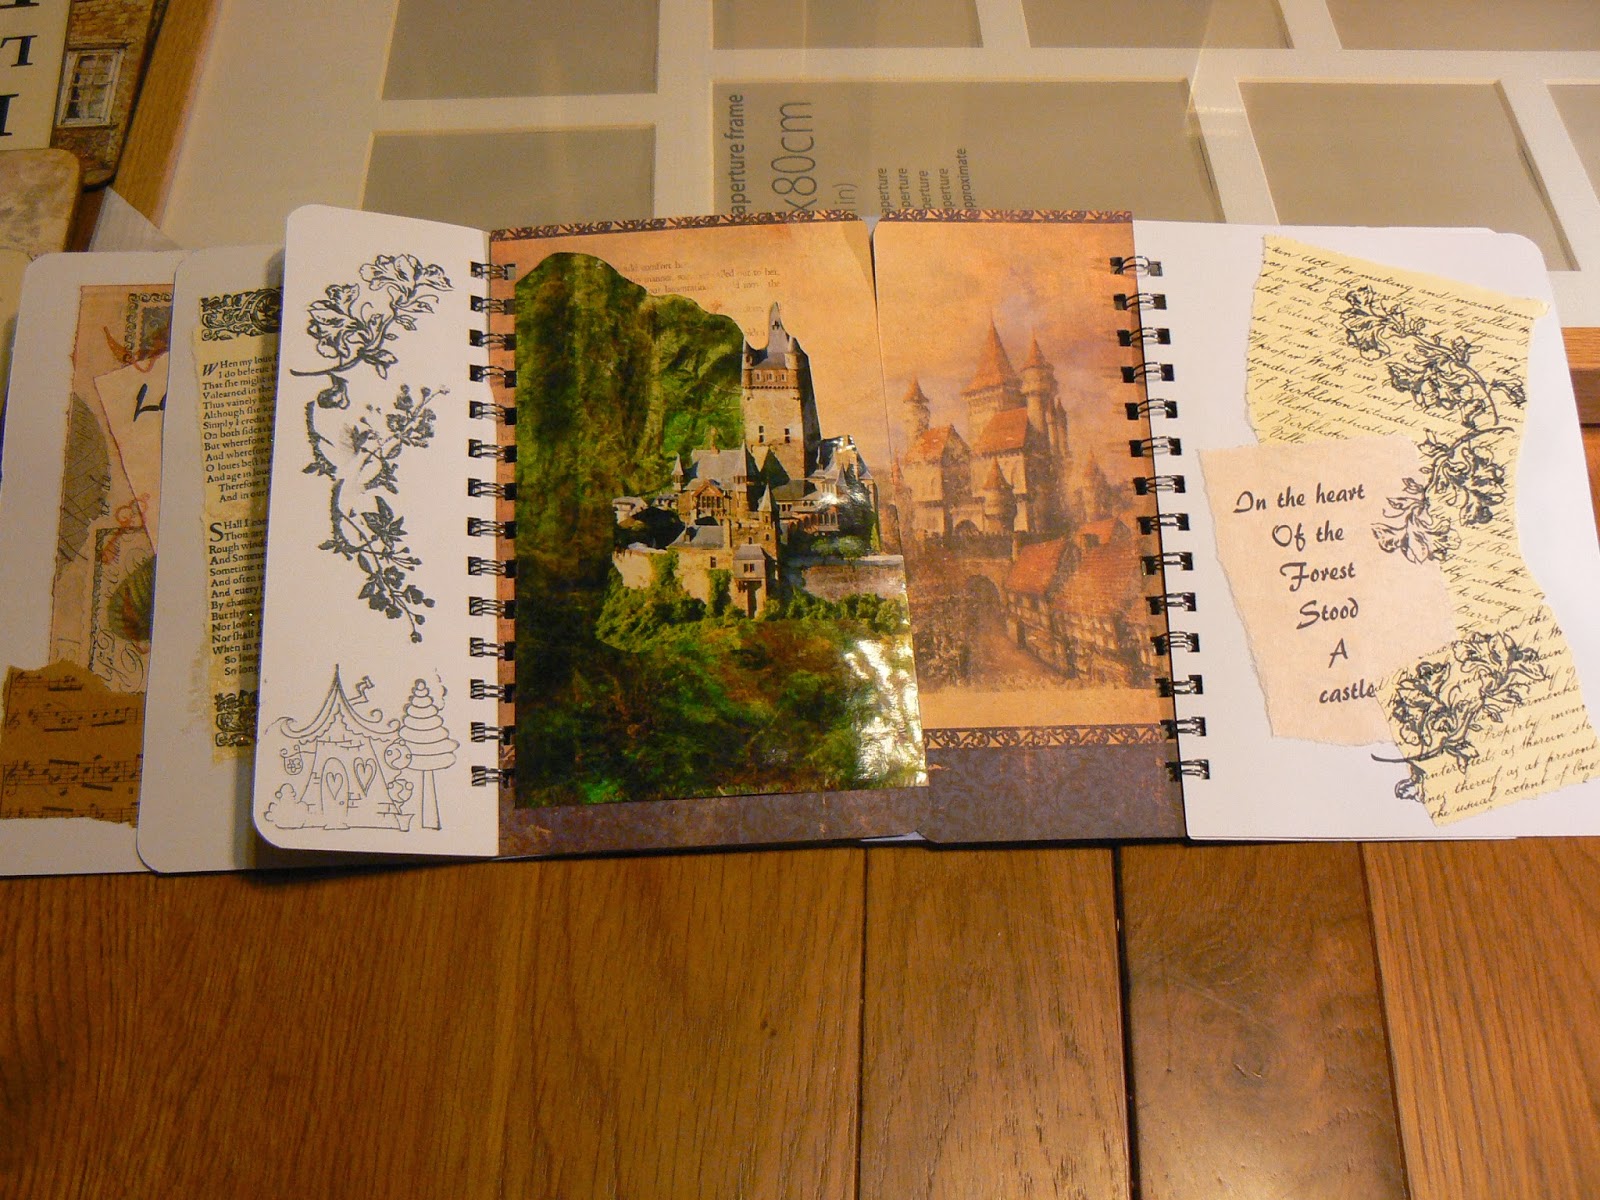
In the heart of the forest stood a castle

Inside the castle kept safe behind high walls,thorny hedge and gate

My (found)cat wedding picture used and the last half page turns for our message to the Bride and Groom.
Thursday, 12 December 2013
A SPECIAL CARD FOR A SPECIAL WEDDING


Starting with the DCWV Once upon a time 8" x 8" pad I looked for the right images for this fairy tale.

A castle, a forest, gates and a joke linked to the invitation. Pictures found and then altered using CRAFT ARTIST. http://www.daisytrail.com/gallery.html

To make my card I began with a sketch, I don't usually do this but I wanted to know exactly how many pages I would need. I also had to know where to split the pages to add an air of mystery to my story. With the pictures chosen, altered and stuck to my backing pages I bound my card using my Zutter Bind-it-all. It seemed right to try alternate pages for this card, I was a little worried about doing this without a trial run but it worked really well. I rounded the corners of the pages to give a nice finish.
http://www.binditall.com/

Using an arched window background sheet I cut out the bridal cats and after sticking them down highlighted some features with glitter glue.
Saturday, 30 November 2013
ENVELOPES THE FINISHING TOUCH


I have been asked to make some cards for a friend for her nieces, a few guidelines but anything I liked to do. The first card was not a standard size - this time I was not going to be beaten. Armed with a CRAFTERS COMPANION ulitimate pro and an additional envelope board http://www.crafterscompanion.co.uk/christmas-c2661/ultimate-pro-c2681/crafters-companion-the-ultimate-crafters-companion-pro-p1905 I decided to beat my envelope jinx.


Subscribe to:
Posts (Atom)