I HAVE BEEN MAKING BAGS - for my shop https://www.etsy.com/uk/shop/dreamtimemakes?ref=l2-shopheader-name The first ones that I listed were inspired by some of the stunning tattoos that I have seen lately. https://www.etsy.com/uk/listing/183566328/tattoo-skull-purseooak-gothpsychobilly?ref=shop_home_feat_1
My latest bag has a victoriana/Gothic feel to it. I walked through the churchyard I used to play in as a child and there had been a lot of work done to tidy the graveyard. Sadly there were a lot of damaged graves, some of which had small trees growing out of them and some that had been broken. I took quite a few photos as I walked round.
I used some of these photos for the design of this bag.
https://www.etsy.com/uk/listing/190856763/hand-crafted-ooak-paper-mache-purse-goth?ref=listing-shop-header-0
Altering the pictures I gave them an eerie feel, and a macabre quote intensified this. FROM THIS SLUMBER THOU SHALT WAKE The top of the bag with its ruffles and frills evokes an image of the bustles and picture hats of the late Victorian and Edwardian eras.
I love this bag even though it felt as though it was fighting me each step of its creation.
Monday, 26 May 2014
Sunday, 18 May 2014
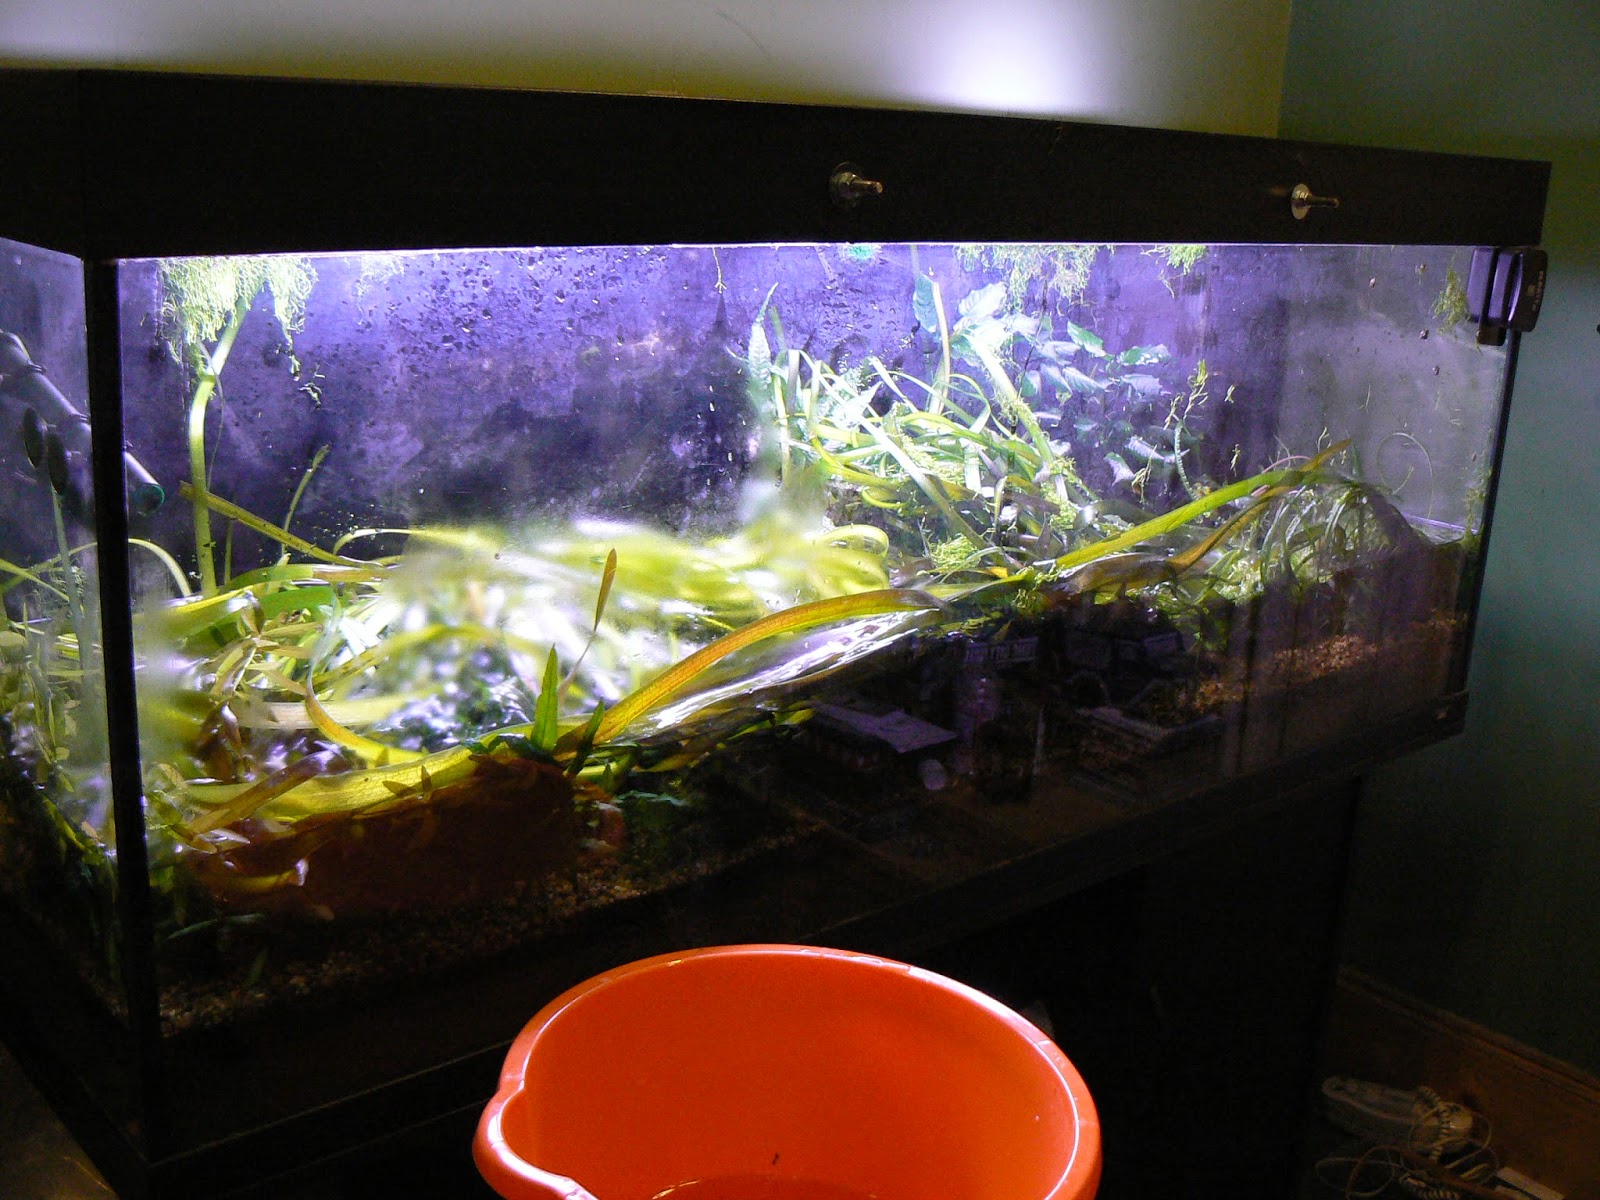
OLD TANKS FOR NEW
There was quite a bit of preparation to do, like mixing the soil, testing spare heaters and getting the old tanks ready for the fish and plants. The plants were removed first.
There were a couple of pieces of bog wood with JAVA FERNS and ANUBIAS on, which were far to big for any of the containers, so we had to work fast to get them back into the tank on the same day. The rest of the plants and the fish were safe overnight.
| a jug of fish and shrimp being transferred to their temporary home. |
The new tank from MAIDENHEAD AQUATICS http://fishkeeper.co.uk/
was put into place and the old tank was moved into the garden so it could be broken up. a two separate soil mixtures were layered into the bottom of the tank and then a layer of fine black gravel.
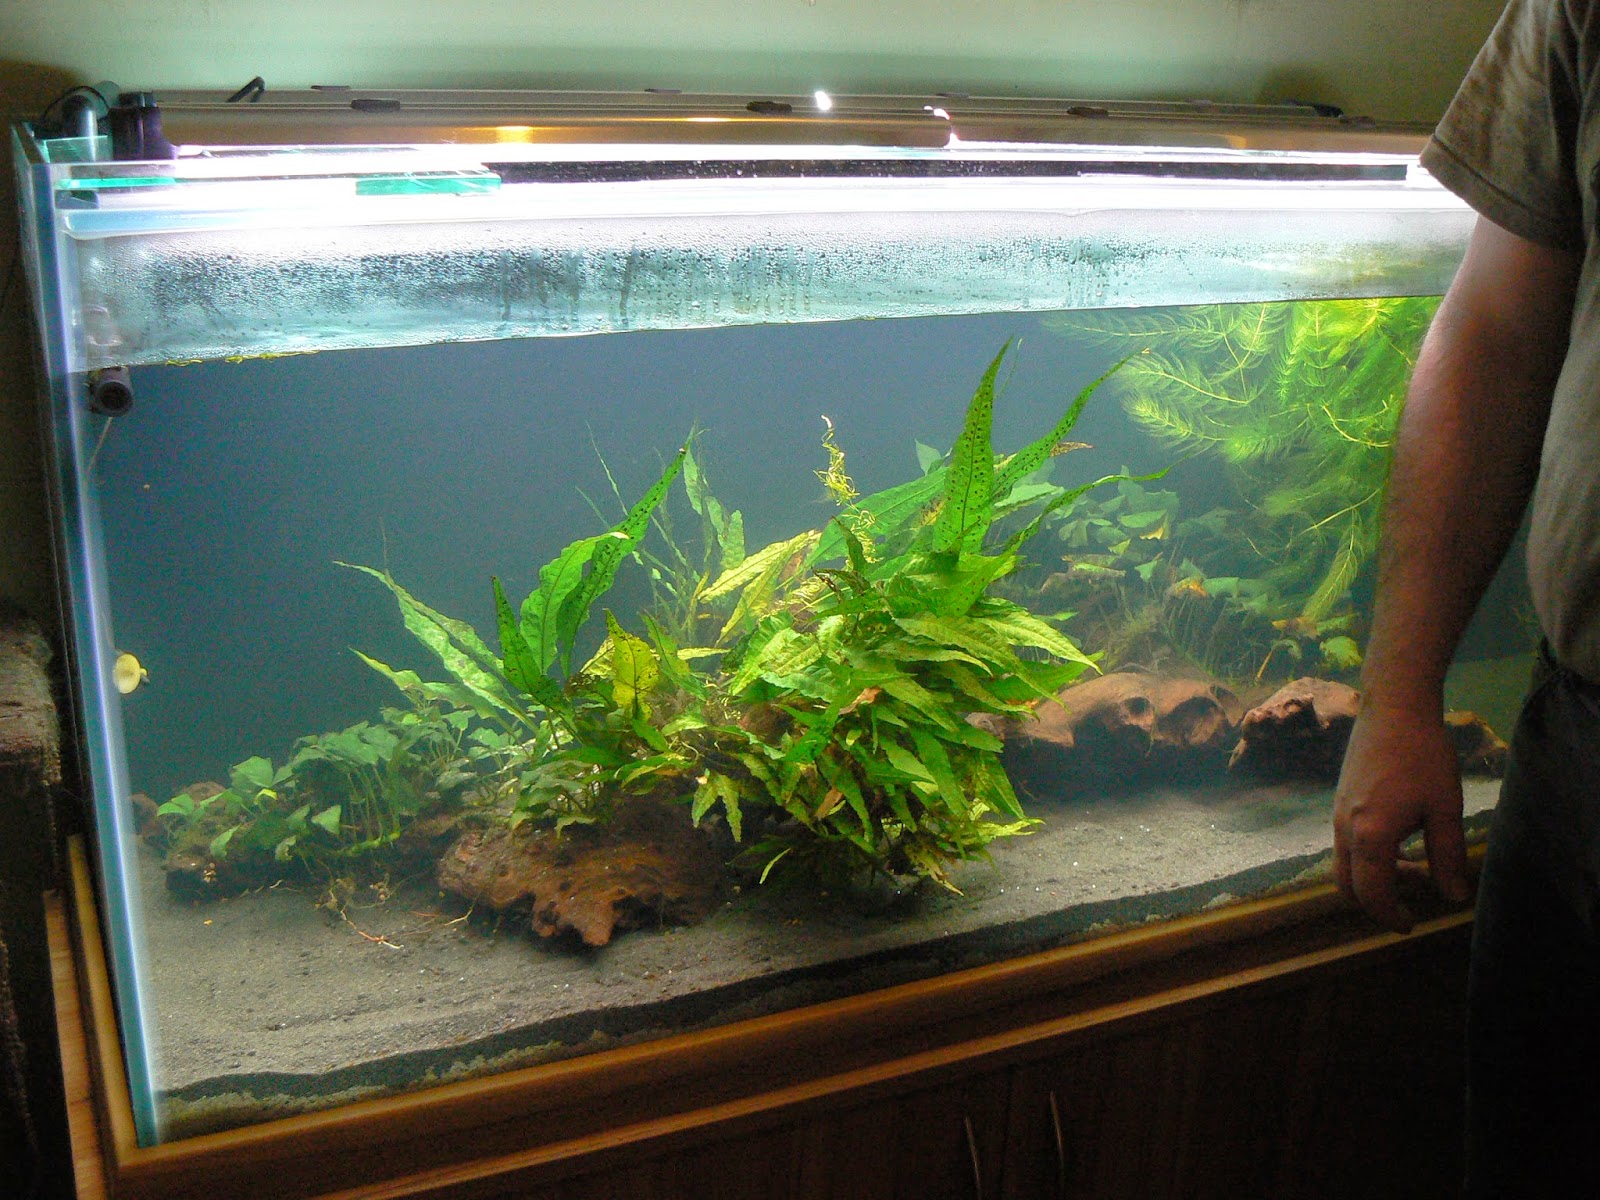
Some of the plants had grown so much that they were no longer attached to the wood so we tied them back on with fishing line.
Transferring the plants and planting them took some time.
The black gravel shows the plants up very nicely. Then it was time to return the fish to their home.
| waiting for the water to settle |
Sunday, 11 May 2014
Things that get done when the internet is unavailable
A few weeks ago my computer died, this meant that I was unable to spend time online. Crafting with my computer was also not an option. All was not lost though, there were part finished projects to complete, a knitting frame for making socks to learn how to use, and some cards to be made.
A card for a diamond wedding anniversary. Looking through my stash I found these beautiful foiled roses. I had a lot of fun making this card, putting mini diamonds on each of the dragonflies inside the card.
I knitted this little cover gift from a magazine. I changed the pattern slightly and put some loops of wool across the sheep's head.
I finished two more bags for my Etsy shop
https://www.etsy.com/uk/shop/dreamtimemakes
I helped with a rather urgent fish tank change over. Very time consuming but satisfying. Several dramas involved (teaser alert).
I have some time learning to use a knitting loom for making socks. Think I have the hang of it now and understand the instructions for turning the heel.
A card for a diamond wedding anniversary. Looking through my stash I found these beautiful foiled roses. I had a lot of fun making this card, putting mini diamonds on each of the dragonflies inside the card.
I knitted this little cover gift from a magazine. I changed the pattern slightly and put some loops of wool across the sheep's head.
I finished two more bags for my Etsy shop
https://www.etsy.com/uk/shop/dreamtimemakes
I helped with a rather urgent fish tank change over. Very time consuming but satisfying. Several dramas involved (teaser alert).
I have some time learning to use a knitting loom for making socks. Think I have the hang of it now and understand the instructions for turning the heel.
Tuesday, 22 April 2014
OVER THE WALL - the beautiful English countryside
I recently saw some wall sections made by a new UK based firm. http://www.debrisofwar.com/ Although they were created for wargaming scenery I thought that there could be other uses.
I have many many photos of the Kentish country side and my
idea was to decorate a deep frame, choose a picture and put one of the wall sections made by DEBRIS OF WAR in front. I decided on a 28mm broken wall section because I felt that would create the 'feel' I was looking for and that was the easy part.
I got my partner to paint the wall section as we are planning on giving this frame as a gift, he did a beautiful job adding some flock and static grass to finish the piece.
With the wall section ready I picked the papers I wanted to
use to decoupage the frame. These were from some early Joanna Sheen paper packs, no longer available but any paper that suits the photo will work. http://www.joannasheen.com/
Using PVA I stuck torn-up pieces of paper to the frame. I made sure the inside edge of the frame didn't have many layers of paper so the wall section would fit back in when everything was finished.
The hardest part was to choose the photo.
I had originally thought of looking over the wall into a bluebell wood, but the poppies on the wall section meant I needed to find a picture from later in the year. I narrowed it down to four pictures and we decided to give the extra pictures with the frame so that they can be swapped if desired. The photos are of Bedgebury Pinetum http://www.forestry.gov.uk/forestry/infd-8yfe54 and of Mount Ephriam Gardens http://www.mountephraimgardens.co.uk/gardens/edwardian.aspx
While the glue was drying I cleaned the glass so that everything was ready to reassemble. A little bit of tweaking to the wall section and the photo frame is ready to go.
Still trying to decide which photo ......
I have many many photos of the Kentish country side and my
idea was to decorate a deep frame, choose a picture and put one of the wall sections made by DEBRIS OF WAR in front. I decided on a 28mm broken wall section because I felt that would create the 'feel' I was looking for and that was the easy part.
I got my partner to paint the wall section as we are planning on giving this frame as a gift, he did a beautiful job adding some flock and static grass to finish the piece.
With the wall section ready I picked the papers I wanted to
use to decoupage the frame. These were from some early Joanna Sheen paper packs, no longer available but any paper that suits the photo will work. http://www.joannasheen.com/
Using PVA I stuck torn-up pieces of paper to the frame. I made sure the inside edge of the frame didn't have many layers of paper so the wall section would fit back in when everything was finished.
The hardest part was to choose the photo.
I had originally thought of looking over the wall into a bluebell wood, but the poppies on the wall section meant I needed to find a picture from later in the year. I narrowed it down to four pictures and we decided to give the extra pictures with the frame so that they can be swapped if desired. The photos are of Bedgebury Pinetum http://www.forestry.gov.uk/forestry/infd-8yfe54 and of Mount Ephriam Gardens http://www.mountephraimgardens.co.uk/gardens/edwardian.aspx
| Mount Ephriam |
| Bedgebury Pinetum |
While the glue was drying I cleaned the glass so that everything was ready to reassemble. A little bit of tweaking to the wall section and the photo frame is ready to go.
Still trying to decide which photo ......
Monday, 21 April 2014
Altered photo/picture frames
I really like jazzing up a plain photo frame. I have made some as gifts, a HOME IS WHERE THE HEART IS one for my Niece and a LOVE one as an engagement present. Both of these were small complete pieces with no need or room for photos.
With some help from my partner I made a larger frame as a wedding present.
Starting with a blank white background I stamped, embossed, and coloured a base design.
After the mount board was finished the frame was re-assembled. The wedding bouquet was red roses,ivy and chilli's so the decoration on the frame had a similar theme.
With some help from my partner I made a larger frame as a wedding present.
Starting with a blank white background I stamped, embossed, and coloured a base design.
After the mount board was finished the frame was re-assembled. The wedding bouquet was red roses,ivy and chilli's so the decoration on the frame had a similar theme.
One section has the wedding day message, I used a square aperture for this so there could be options when hanging.
The wooden frame was left plain but the rest has swirls and swags of ivy, chilli's and roses. Lots and lots of roses - in different sizes and white and red shades.
| Very pleased with the final result |
Sunday, 13 April 2014
WANT TO MAKE - shadowbox bag
Eversince I started making bags/purses from cigar boxes I have been fascinated with the idea of making one with a shadowbox front, especially as I have one box with a clear front.
This morning on PINTEREST I saw this vintage one
http://www.pinterest.com/pin/219902394279733281/ which is rather lovely. Clicking on the link showed me that it is (at the time of writting on sale on EBAY). http://www.ebay.ca/itm/Shadowbox-Wooden-Purse-3D-Butterflies-Daisies-Diorama-Lucite-Handle-Handmade-/351045290895
I love the look of the bag - the 3D flowers & butterflys, the raised corners and the twisted handle. Not sure if I like the white background that much.
Now I have another project stored in the backroom of my mind just waiting for the time to give it a go.
This morning on PINTEREST I saw this vintage one
http://www.pinterest.com/pin/219902394279733281/ which is rather lovely. Clicking on the link showed me that it is (at the time of writting on sale on EBAY). http://www.ebay.ca/itm/Shadowbox-Wooden-Purse-3D-Butterflies-Daisies-Diorama-Lucite-Handle-Handmade-/351045290895
I love the look of the bag - the 3D flowers & butterflys, the raised corners and the twisted handle. Not sure if I like the white background that much.
Now I have another project stored in the backroom of my mind just waiting for the time to give it a go.
Sunday, 30 March 2014
VINTAGE KITTEN - HILLARYS BLINDS COUNTRY CRAFTS COMPETITION
I have been wanting to make a cat dressed in fifties styled clothes for some time but had not found the fabric to inspire me enough to put starting at the top of my to do list. Then I saw the choice of fabrics in the Hillarys Blinds country craft competition and I knew this was exactly what I had been looking for.
I know that this fabric may not be everybody first choice for dressing a soft toy but it has worked perfectly. It is a very forgiving fabric and was easy to use even making the bodice of the dress, which was a little fiddly. The 'give' in the fabric meant turning the hem was a doddle.
First I had to make the cat so I could dress her. She started life as a teddy bear from an old book, altered to make her taller so I could make her skirt as long as possible.
To make sure the legs were the correct length I pinned and sewed the pattern pieces together before cutting them out.
I cut a meter length of a similar type of fabric to do a trial run. I wanted an eight gore double circular skirt to get the "NEW LOOK" style. While doing the trial fitting I saw that a double row of buttons would look pretty on the bodice.
I found a ruler that was a perfect length for the skirt and made a quarter circle pattern which I cut out eight times. To make the bodice pattern I adapted the bear that I had used for my cat.
Double circle laid out so the fabric pattern can be matched (as well as possible). I lined the bodice, I find that with full heavy skirts this gives strength to the garment and stops any fraying.
I sewed flat seams on all but on of the seams of the skirt, the last one I made a narrow hem so there was room for the tail.
I used five layers of tightly gathered net for the petticoat to give maximum lift to the skirt. This was to show off the lovely fabric as well as to be in keeping with the style I was creating. This was all nice and straight forward, simple hand sewing and fabric that was a joy to handle. I loved making this project and am pleased with the result, thank you HILLARYS BLINDS for giving me the opportunity to see how good your fabric is. http://www.hillarys.co.uk/inspiration/the-hub/2014/country-craft-competition/
The hardest part was choosing which fabric to send for.
Petticoat on and dress ready to go, just a few finishing touches. A bow to go in front of the ear, a bead necklace and some fish ( fish shown were made as a bag charm). A few shakes to fluff out the petticoat, a few tweaks to the skirt and she's ready to go.
I know that this fabric may not be everybody first choice for dressing a soft toy but it has worked perfectly. It is a very forgiving fabric and was easy to use even making the bodice of the dress, which was a little fiddly. The 'give' in the fabric meant turning the hem was a doddle.
First I had to make the cat so I could dress her. She started life as a teddy bear from an old book, altered to make her taller so I could make her skirt as long as possible.
To make sure the legs were the correct length I pinned and sewed the pattern pieces together before cutting them out.
I cut a meter length of a similar type of fabric to do a trial run. I wanted an eight gore double circular skirt to get the "NEW LOOK" style. While doing the trial fitting I saw that a double row of buttons would look pretty on the bodice.
I found a ruler that was a perfect length for the skirt and made a quarter circle pattern which I cut out eight times. To make the bodice pattern I adapted the bear that I had used for my cat.
Double circle laid out so the fabric pattern can be matched (as well as possible). I lined the bodice, I find that with full heavy skirts this gives strength to the garment and stops any fraying.
I sewed flat seams on all but on of the seams of the skirt, the last one I made a narrow hem so there was room for the tail.
| waiting for a new dress |
The hardest part was choosing which fabric to send for.
Petticoat on and dress ready to go, just a few finishing touches. A bow to go in front of the ear, a bead necklace and some fish ( fish shown were made as a bag charm). A few shakes to fluff out the petticoat, a few tweaks to the skirt and she's ready to go.
| a summer dress for a spring day |
Subscribe to:
Posts (Atom)